How to Use a Diffuser Without Repeatedly Disturbing Curl Groups
A diffuser changes airflow, but technique still depends on the dryer, attachment and your texture. Begin with the tool instructions and familiar preparation. Use controlled placement and fewer unnecessary changes rather than assuming high heat or constant movement is required.
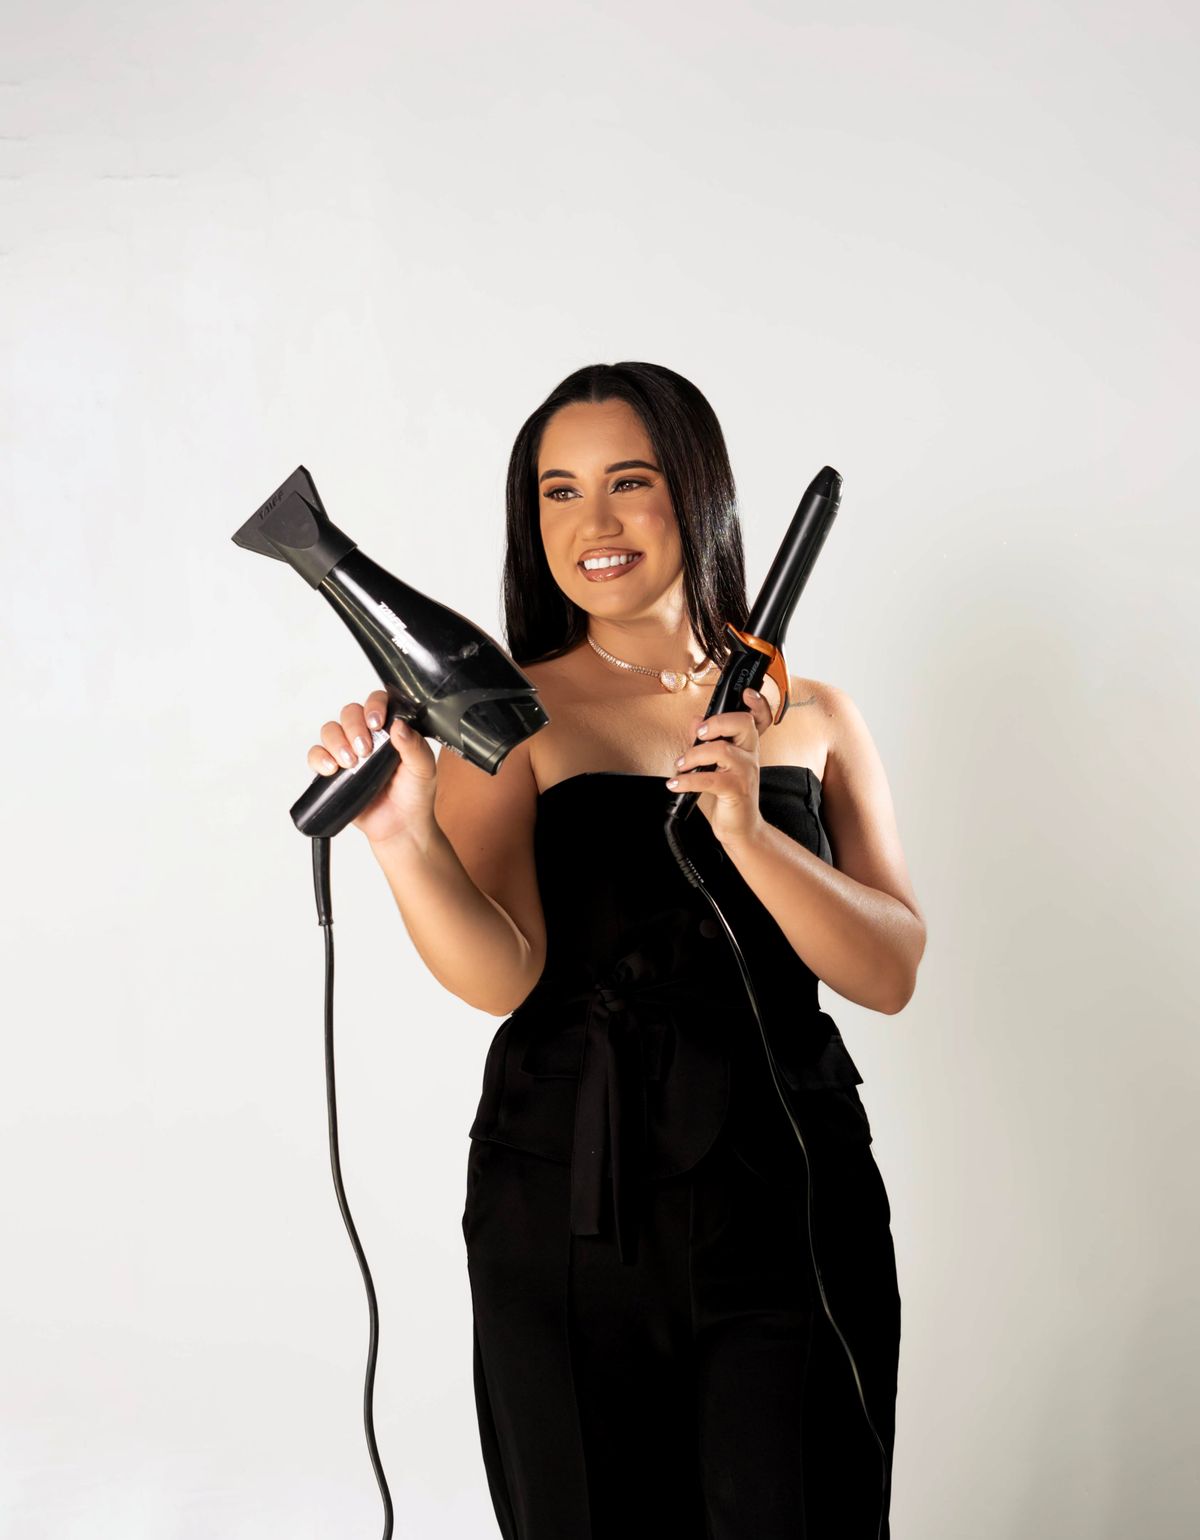
Photo: Pexels · License. Illustrative stock photography; pictured people, products and settings are not claimed to demonstrate this exact guide or endorse this publication.
Check the actual tool
Use an attachment intended for the dryer and read the operating instructions. A loose or incompatible attachment changes the practical safety and handling question. Compare compatible tooling with calm placement with high disturbance and repeated handling.
Prepare the desired curl groups
Arrange the pattern with your familiar styling routine before drying. The diffuser is not a substitute for deciding how you want sections to sit. Check attachment compatibility and keep the appliance instructions available.
Choose controllable airflow
If the air scatters the sections, reduce the disturbance according to the tool settings. AAD advises limiting excessive heat; use the lowest effective practical setting. Use a visible checkpoint: the airflow does not scatter the prepared groups and the tool is used as directed
Begin with accessible areas
Keep the attachment at an appropriate distance under the tool directions. Do not press a hot surface against the scalp. Priority: the actual appliance directions.
Use a root-and-length example
Roots and lengths may dry at different rates. Check them separately rather than repeatedly handling already settled curl groups. Consider this specific example: the roots remain damp after the ends settle, so you focus the next appropriate stage on roots instead of repeatedly handling every length.
Troubleshoot scattered sections
Consider airflow and movement first. Repeated scrunching and switching positions may disturb the pattern you prepared. If the curl groups scatter under the air, first check airflow and tool movement. Then reassess airflow, distance and movement before adding product.
Pause before moving the tool
Use a controlled stop-and-reposition approach where supported by the appliance. Keep the cord and hands clear of the styling area. The practical tradeoff is gentler controlled drying may take longer than a rushed high-disturbance approach.
Judge after the intended finish
Let the hair reach the stage required by your familiar routine before evaluating the final outline. Record settings and handling rather than promising one universal drying time. Before finishing, record the setting and placement that worked with your tool Record the one detail that would be useful next time: the appliance setting and sequence.
A controlled tool-and-section rehearsal
Read the operating information for both dryer and attachment and confirm that the diffuser fits as intended. Choose a familiar preparation routine and arrange the desired curl groups before introducing airflow. If the groups scatter, reassess setting, distance and movement rather than adding more products immediately. Use the lowest effective practical heat setting and do not press a hot surface against the scalp. A tool promoted for curls still needs to be used according to its own instructions.
Check the roots and lengths separately. An area that has settled may not need repeated handling while another area still needs an appropriate drying stage. Where the appliance method allows, stop before moving the attachment so an unexpected burst of airflow does not disturb the next section. Keep the cord and your hands clear of the working area. Compare the final outline only after the stage required by your familiar routine, and record the actual tool setting and handling order. Do not promise a fixed universal drying time: density, length, preparation and equipment all affect the practical process. If you want to change the method, test one controlled variable on an ordinary day and keep a photograph of the resulting shape, rather than changing heat, product and technique together before an important event. Keep the tool model with the setting notes. A similarly named heat or speed position on another dryer may behave differently, so the useful record belongs to the actual appliance and attachment used.
Your working checklist
Checkmarks stay in this browser when storage is available. They do not submit information or complete a purchase.
Put it into practice
- Read dryer and attachment instructions.
- Prepare the curl groups with familiar products.
- Choose a controllable effective setting.
- Dry accessible areas without excessive disturbance.
- Reposition in a controlled way.
- Check roots and lengths separately and record the routine.
Before you finish
- The attachment is compatible.
- Airflow is controllable.
- Excessive heat is avoided.
- Handling is limited to useful checks.
Common questions
Does a diffuser require high heat?
No universal setting applies. Follow the appliance instructions and avoid unnecessary heat; choose a controllable setting that works for your routine.
Why do curls scatter?
Airflow, distance and repeated movement may be factors. Reduce disturbance before adding more styling products.
Should I keep touching the hair?
Limit unnecessary handling while the pattern sets. Check only what you need to assess the drying stage.
Can every attachment fit my dryer?
No. Use a compatible attachment and the appliance instructions rather than forcing a loose or unsuitable piece into place.